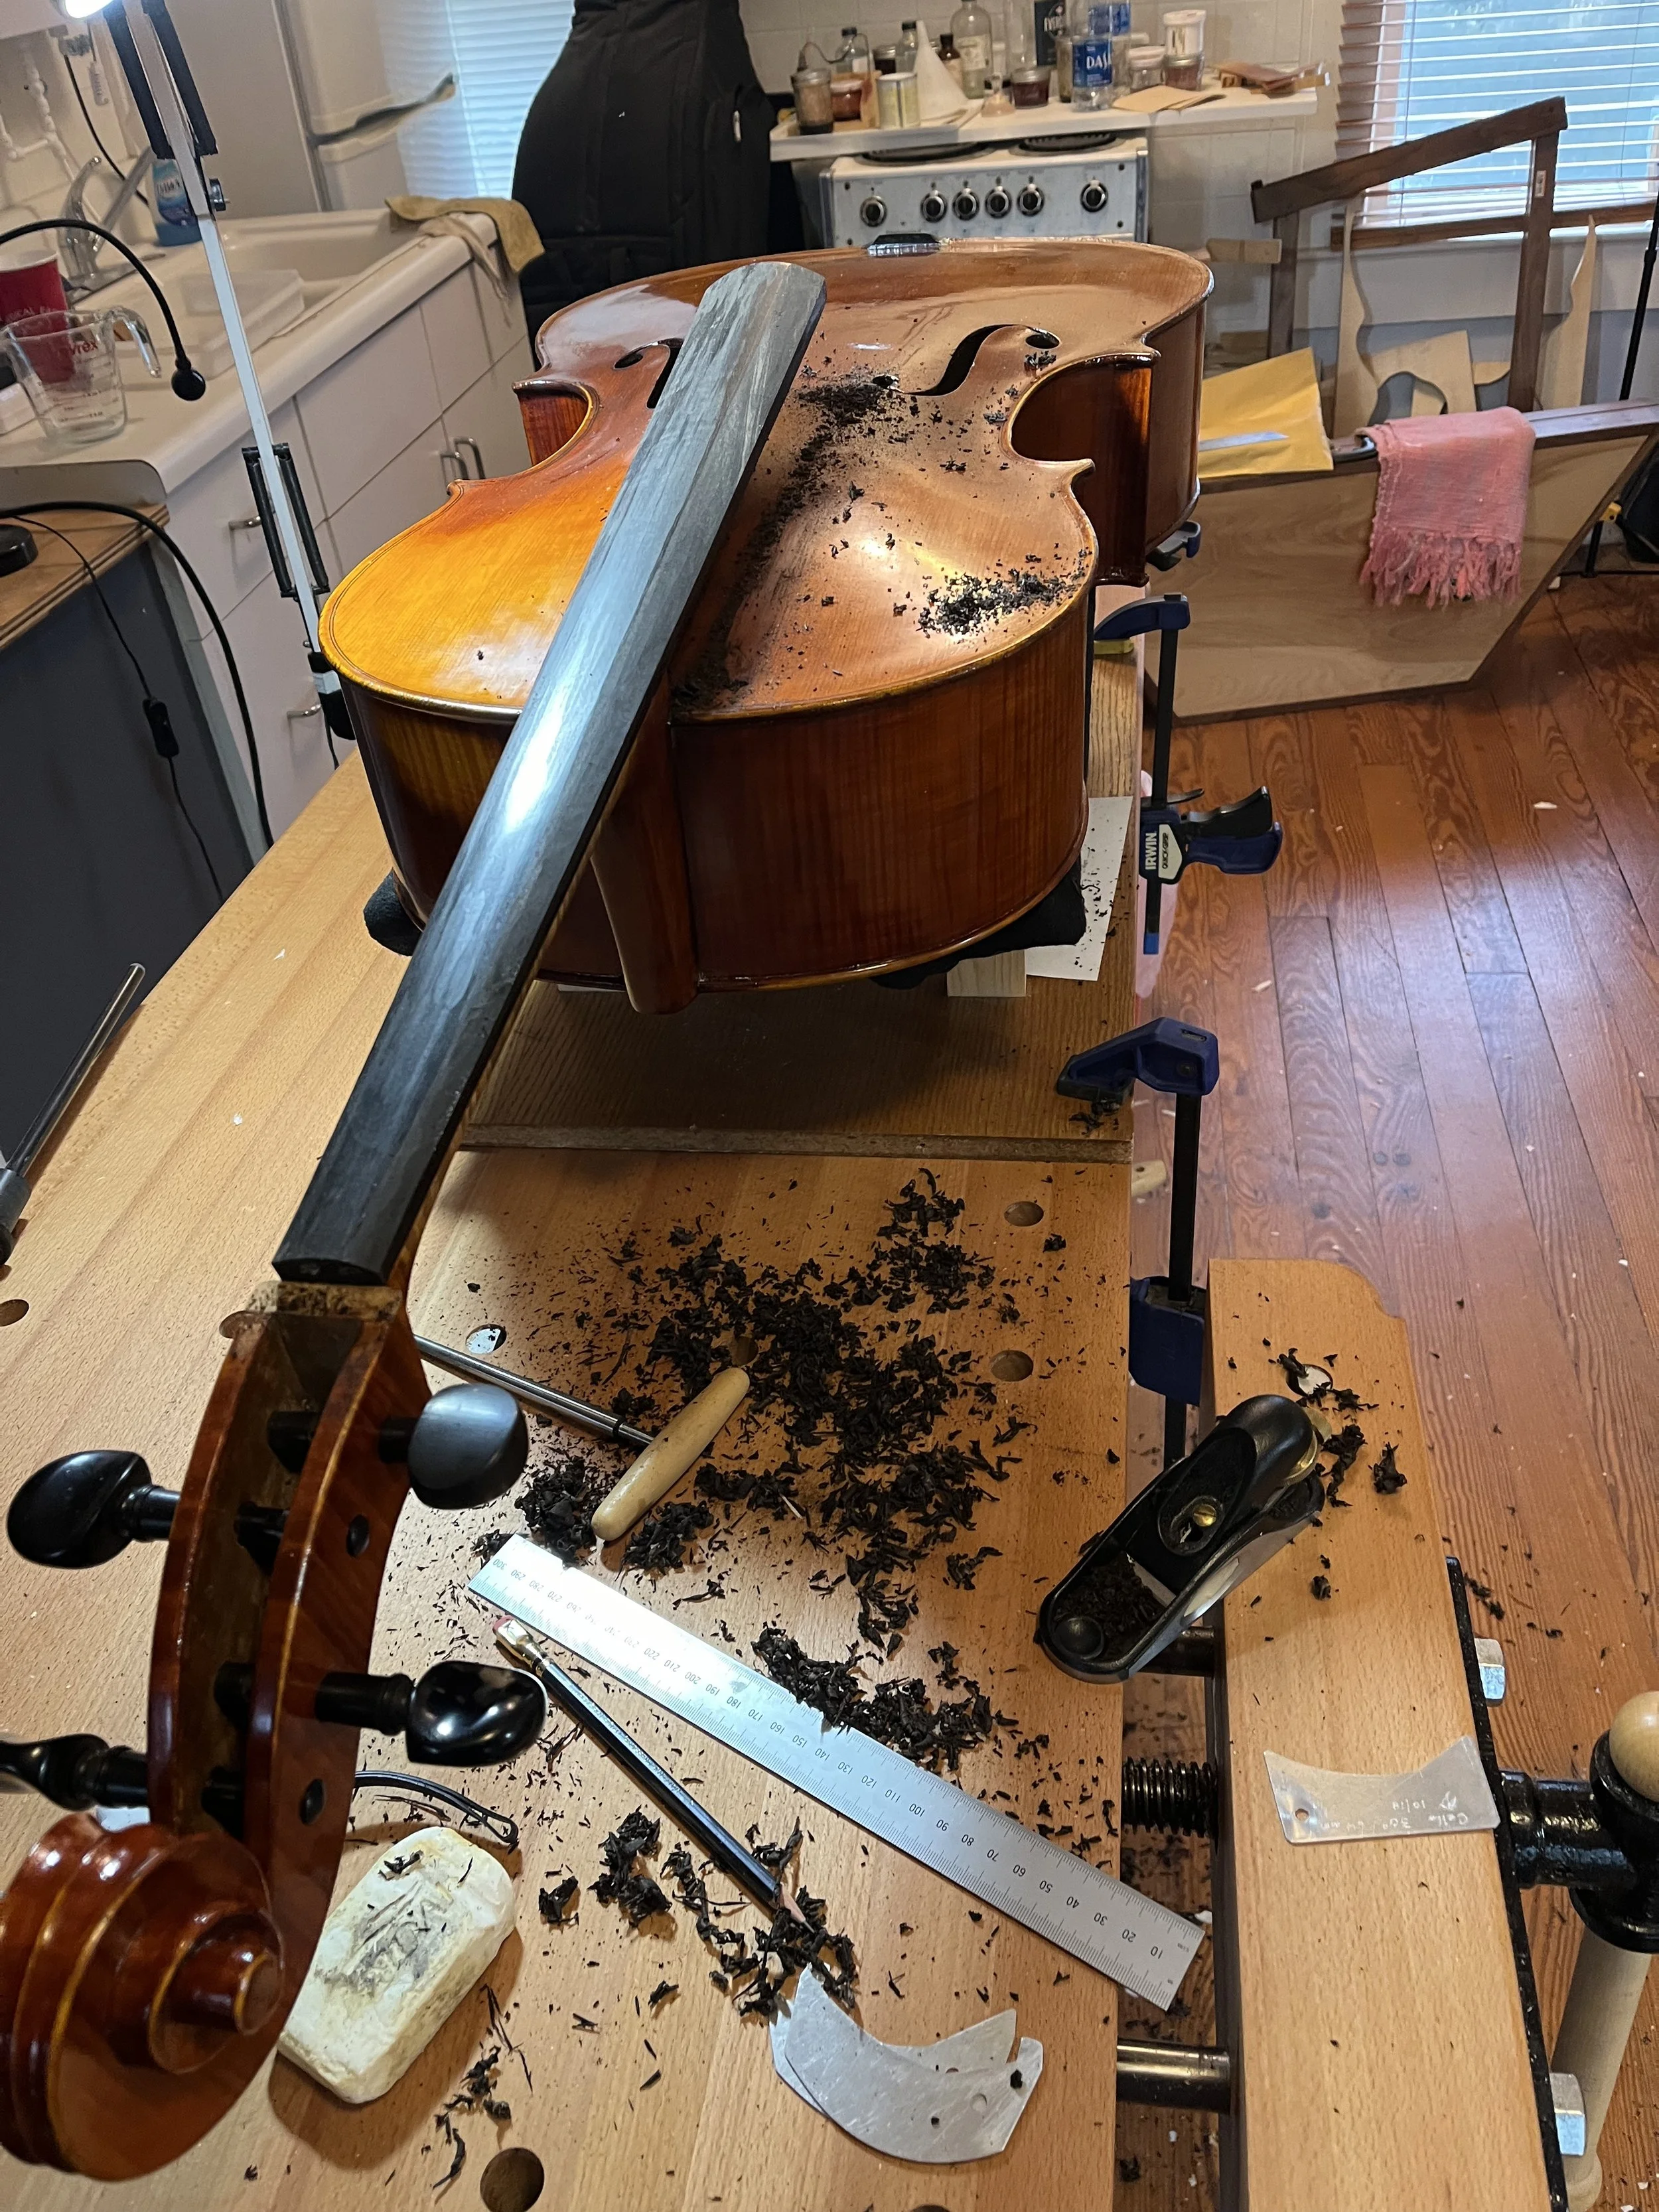
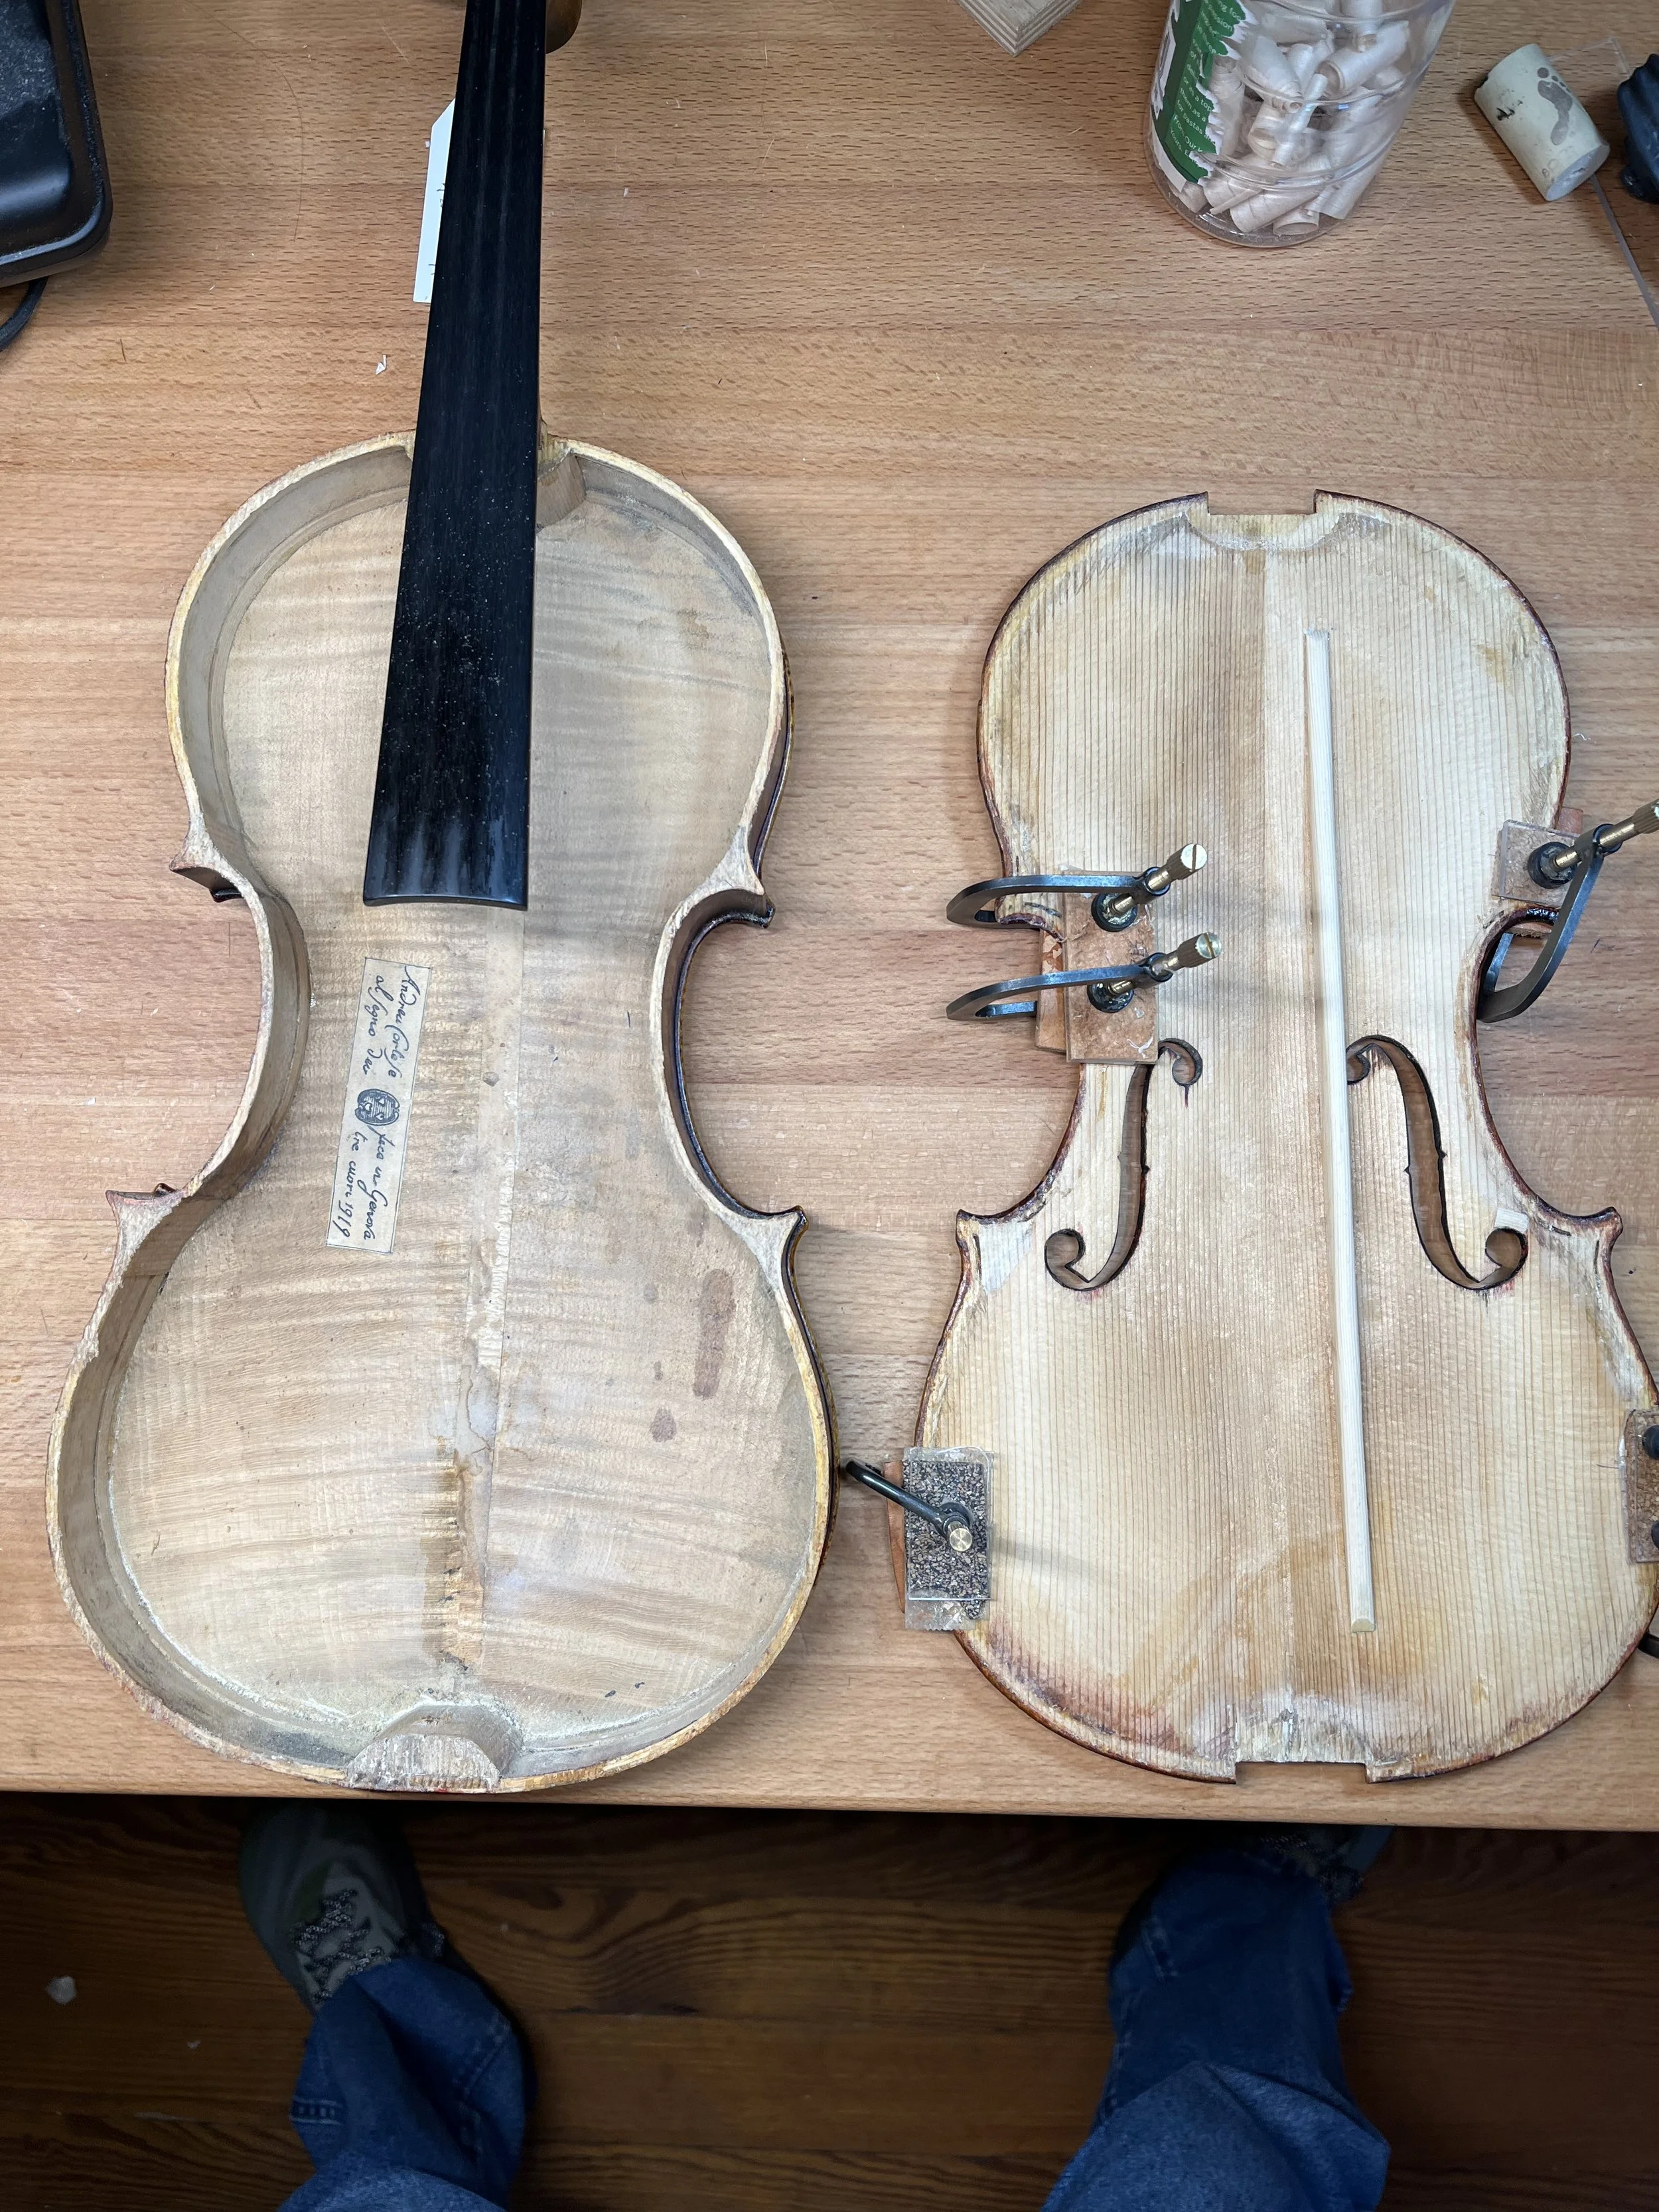
Repairs and Maintenance
Detailed Craftsmanship…
Applied Artistry…
Continual Learning…
…For Your Best Sound
Mike trained with Alex Wilson and Sanghoon Lee at the Violin Making School of America, at the the Peter Prior and Sons shop in Salt Lake City, through joint work with Jeff Robinson in Flagstaff, through internships with Triangle Strings in Raleigh, NC, and through continual learning about the details of great setup.
Services…
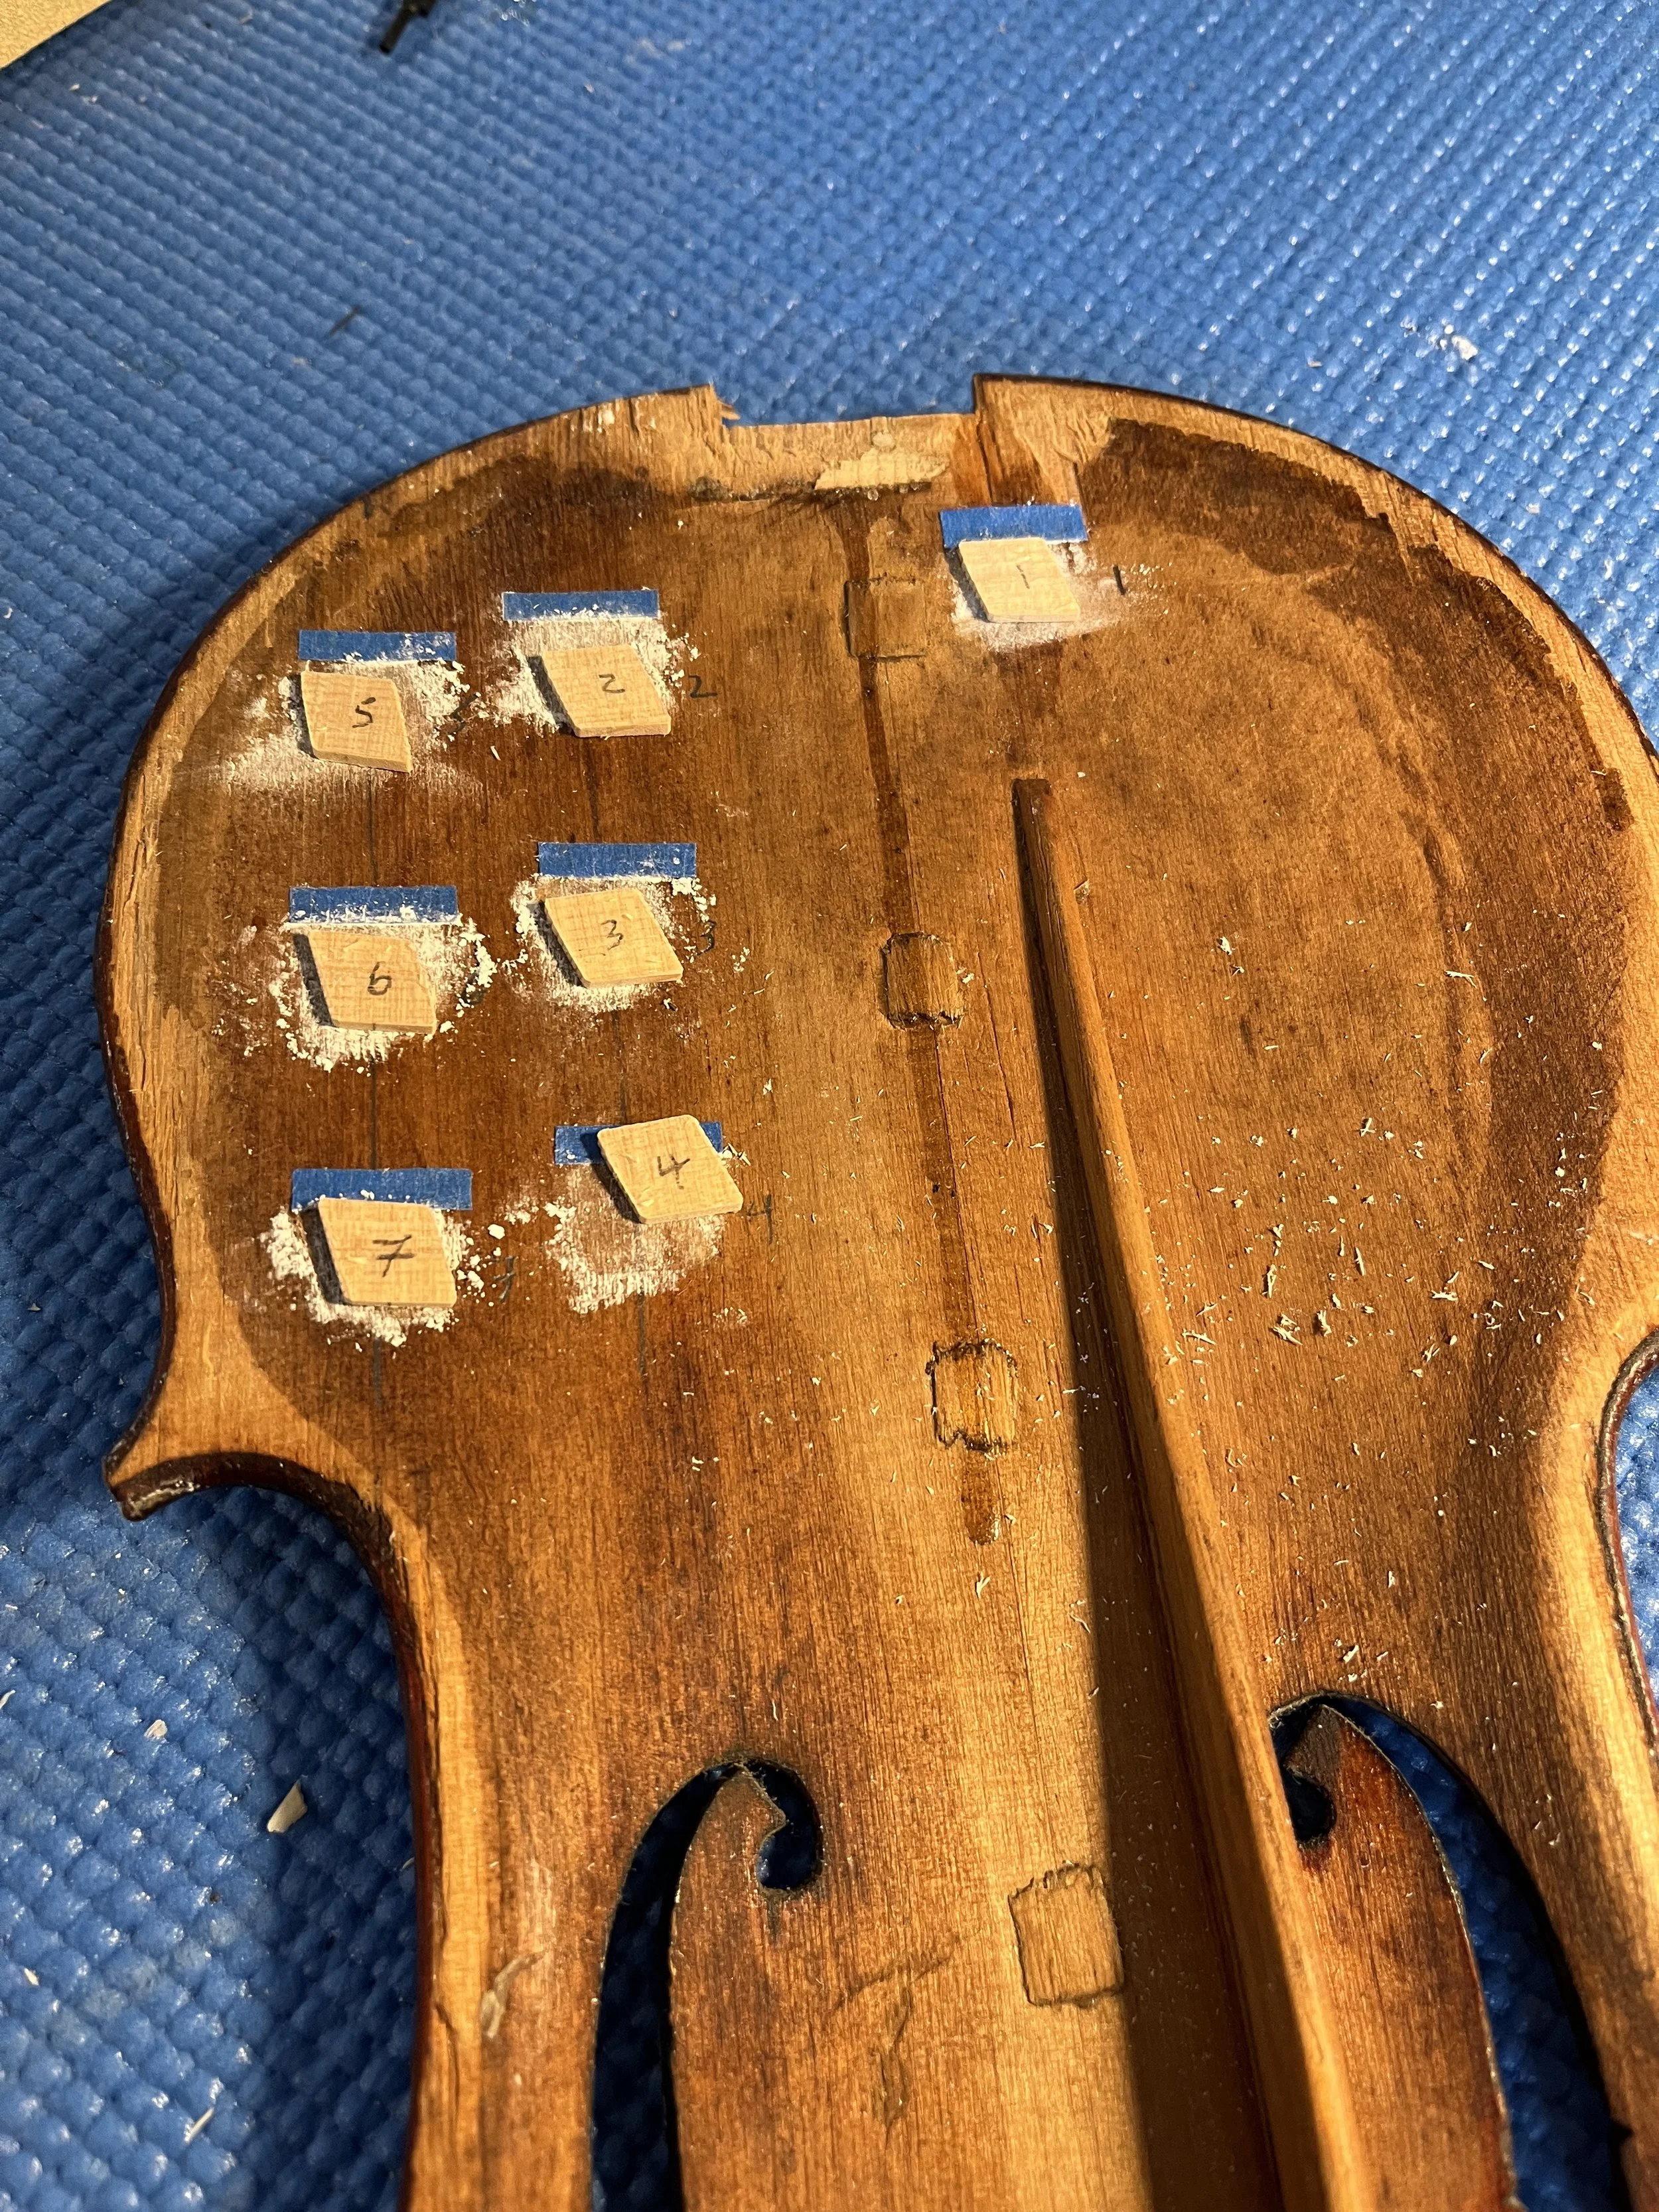
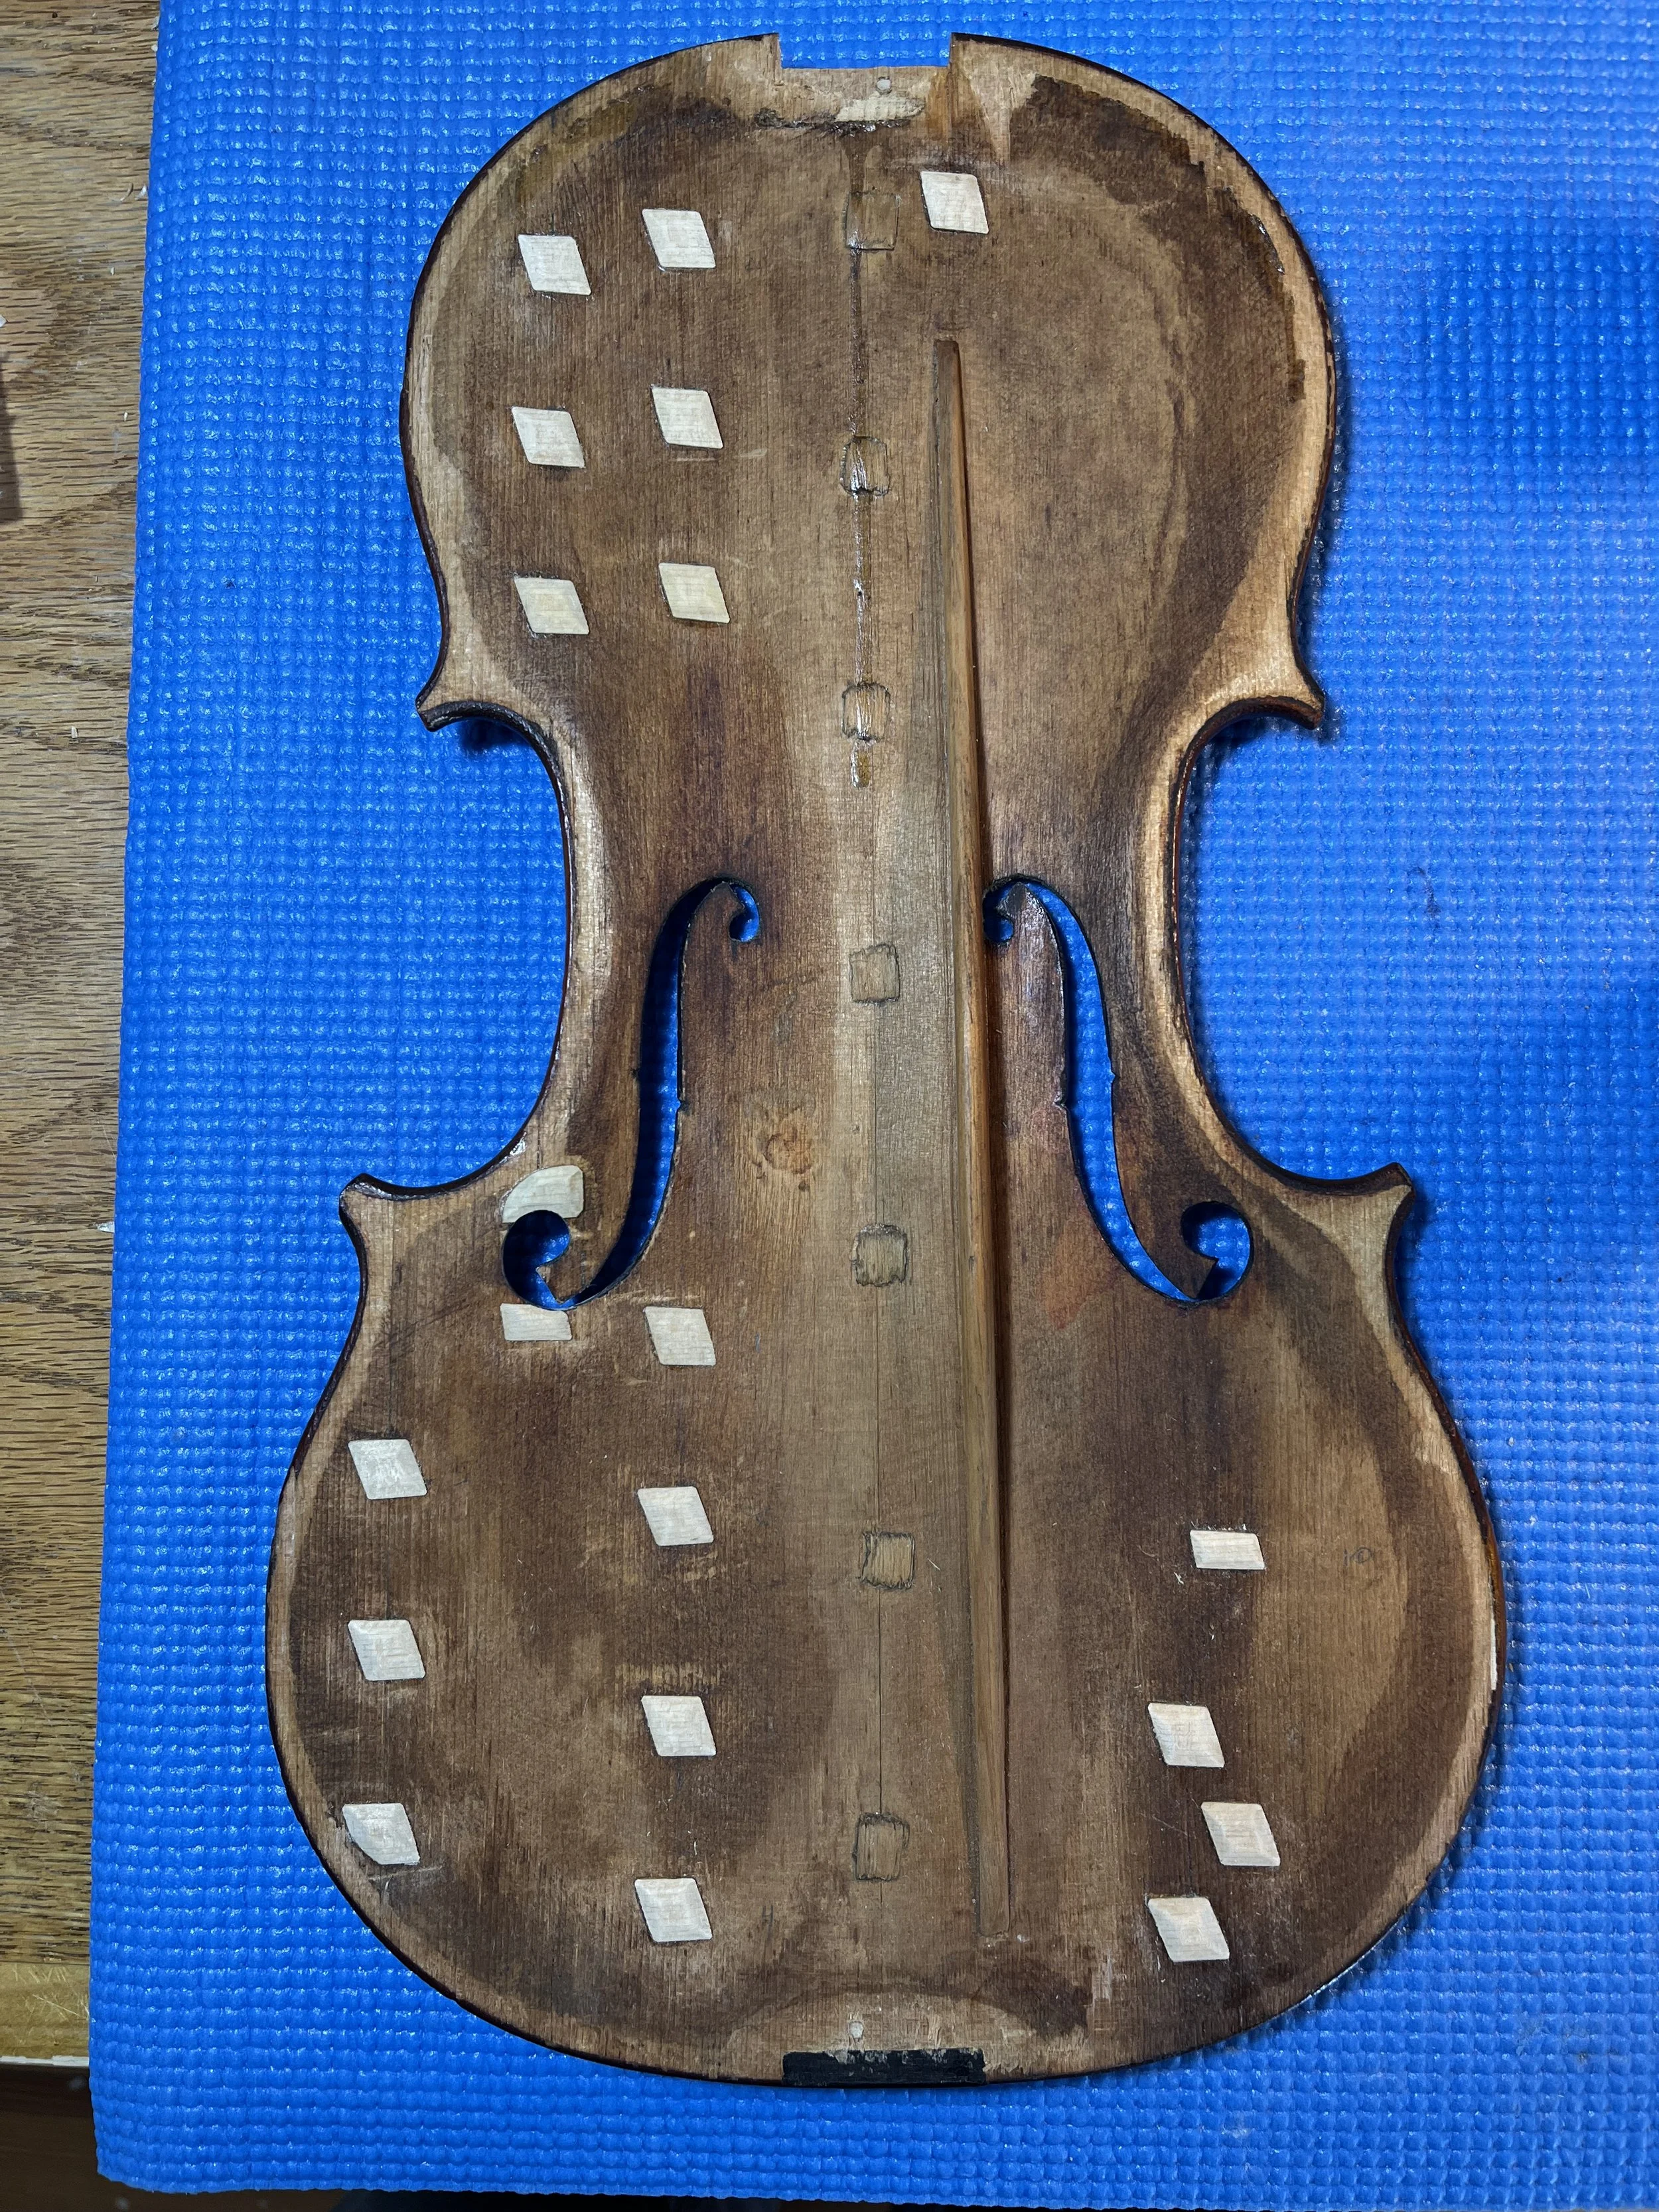
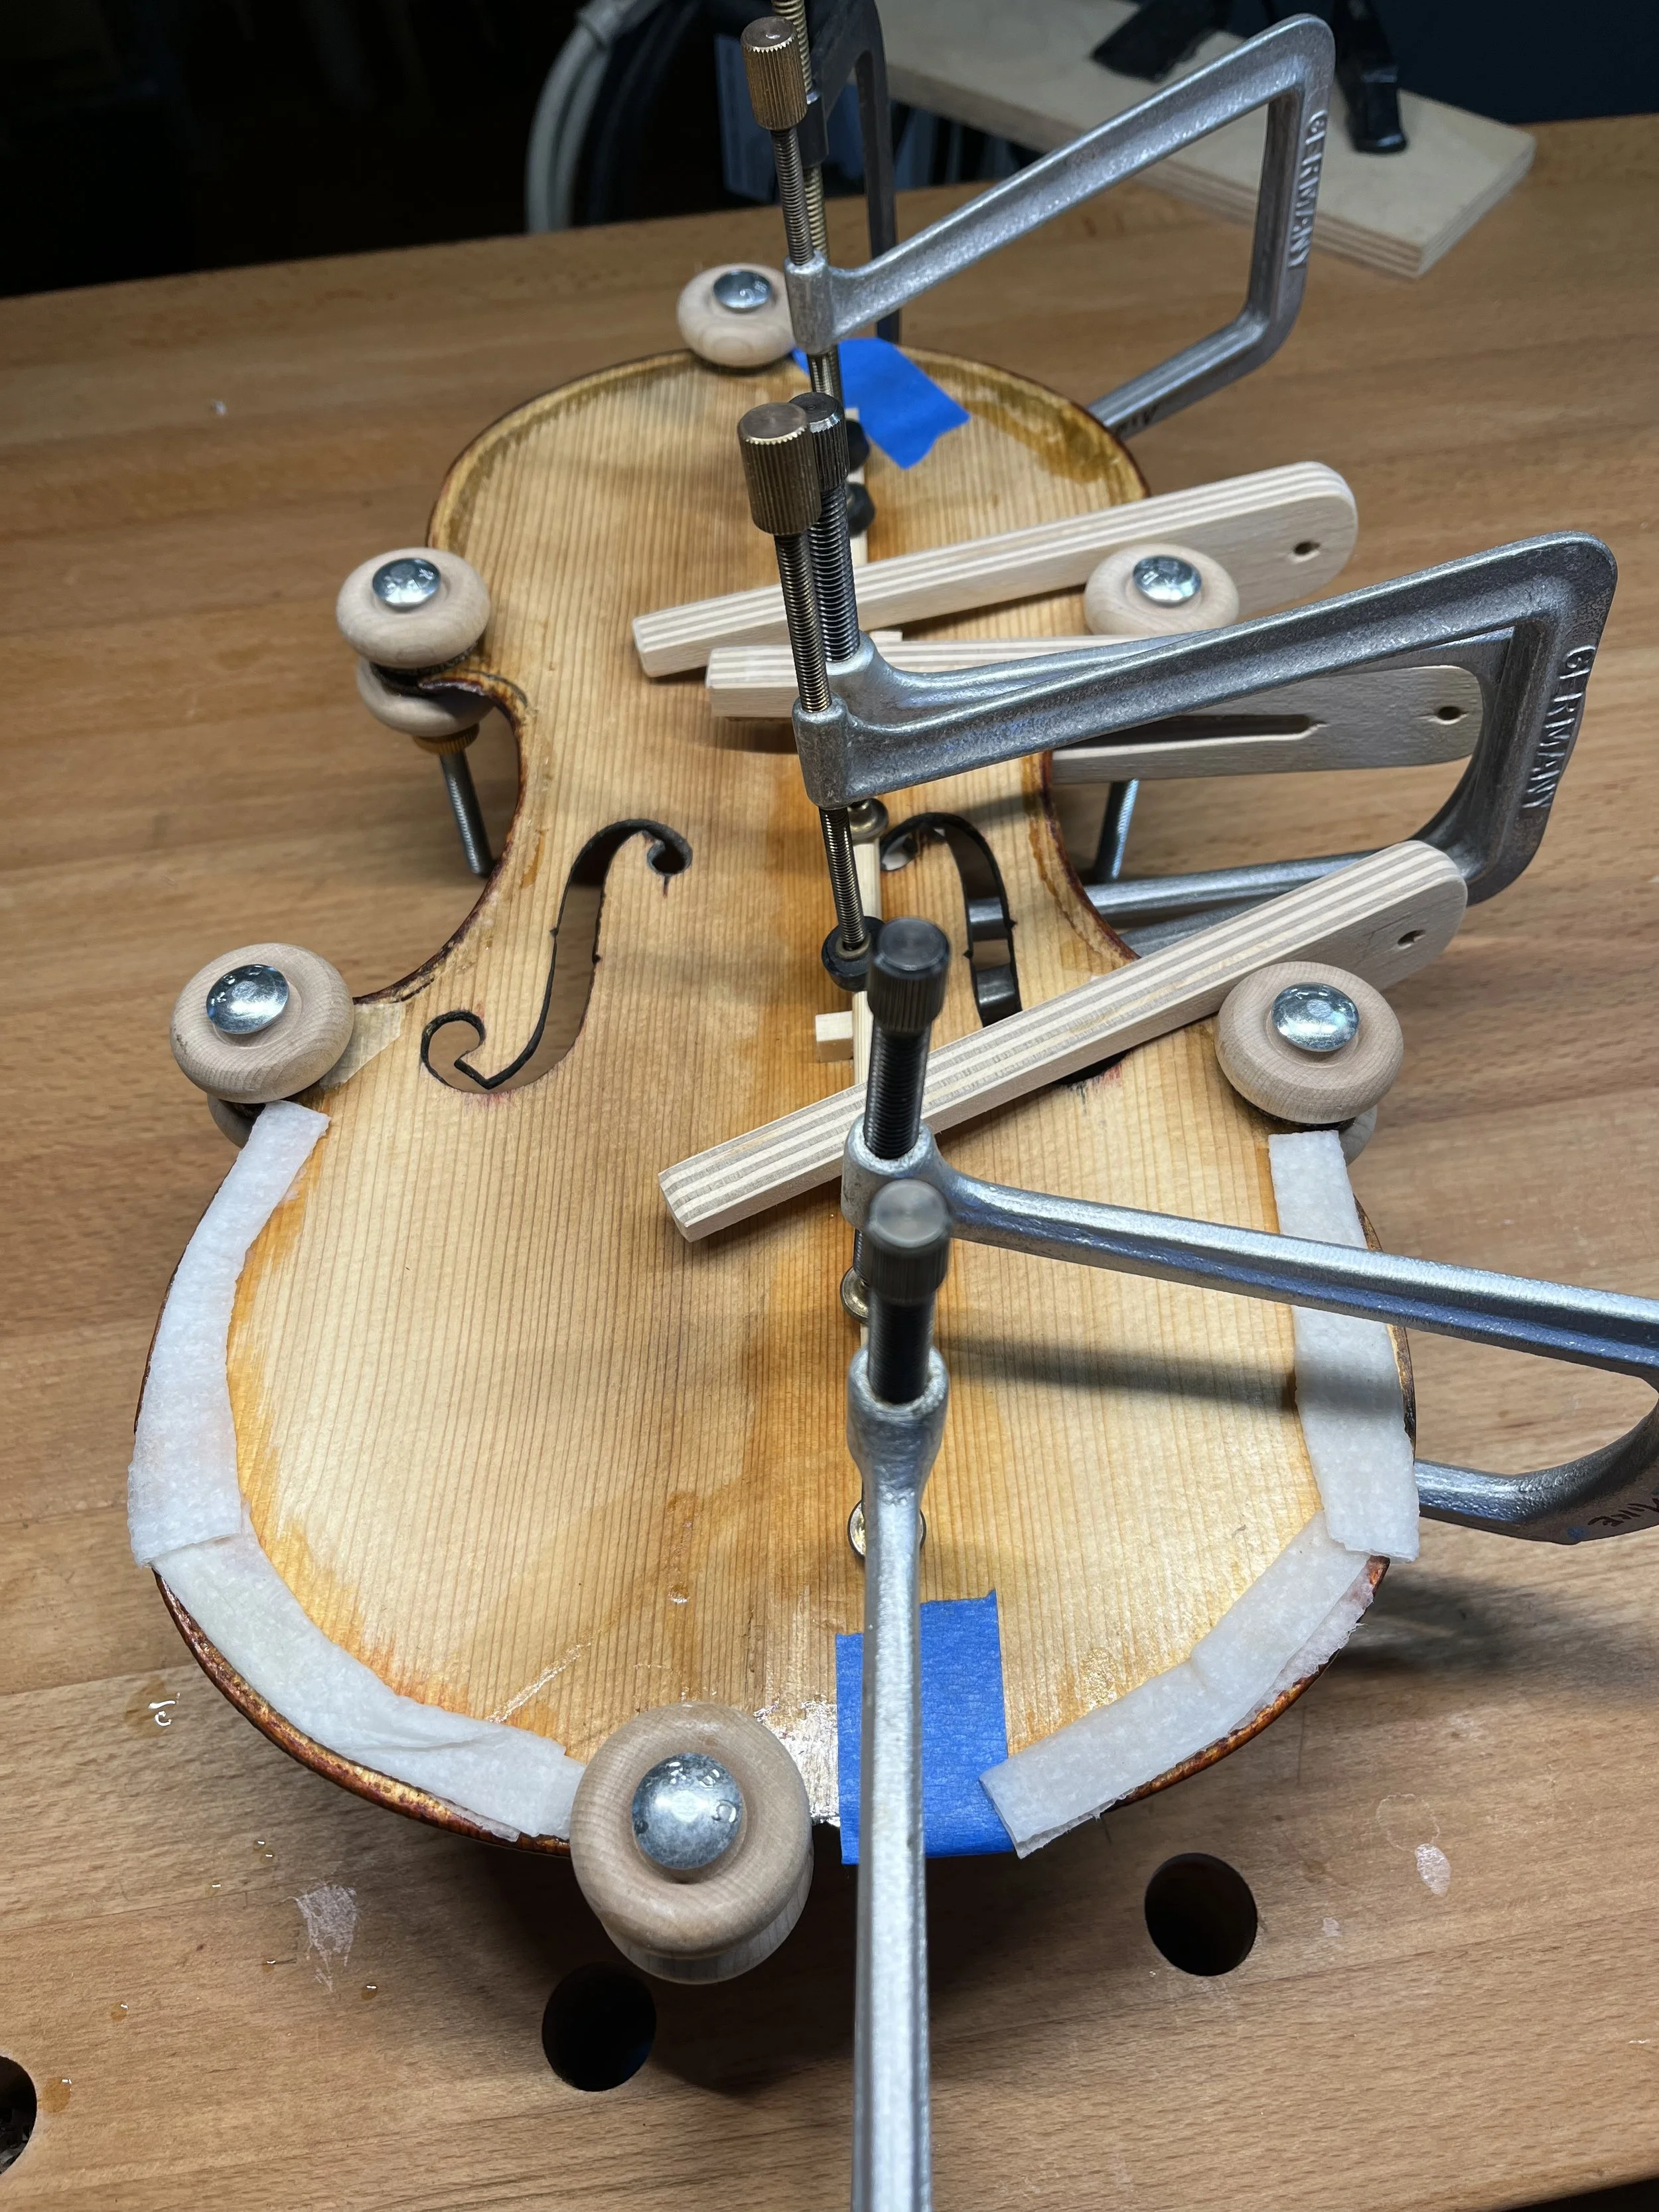
Bridges, sound posts, tone adjustments, pegs, open seams, fingerboards, cracks, cleaning… all your routine maintenance needs.
Bow rehairing
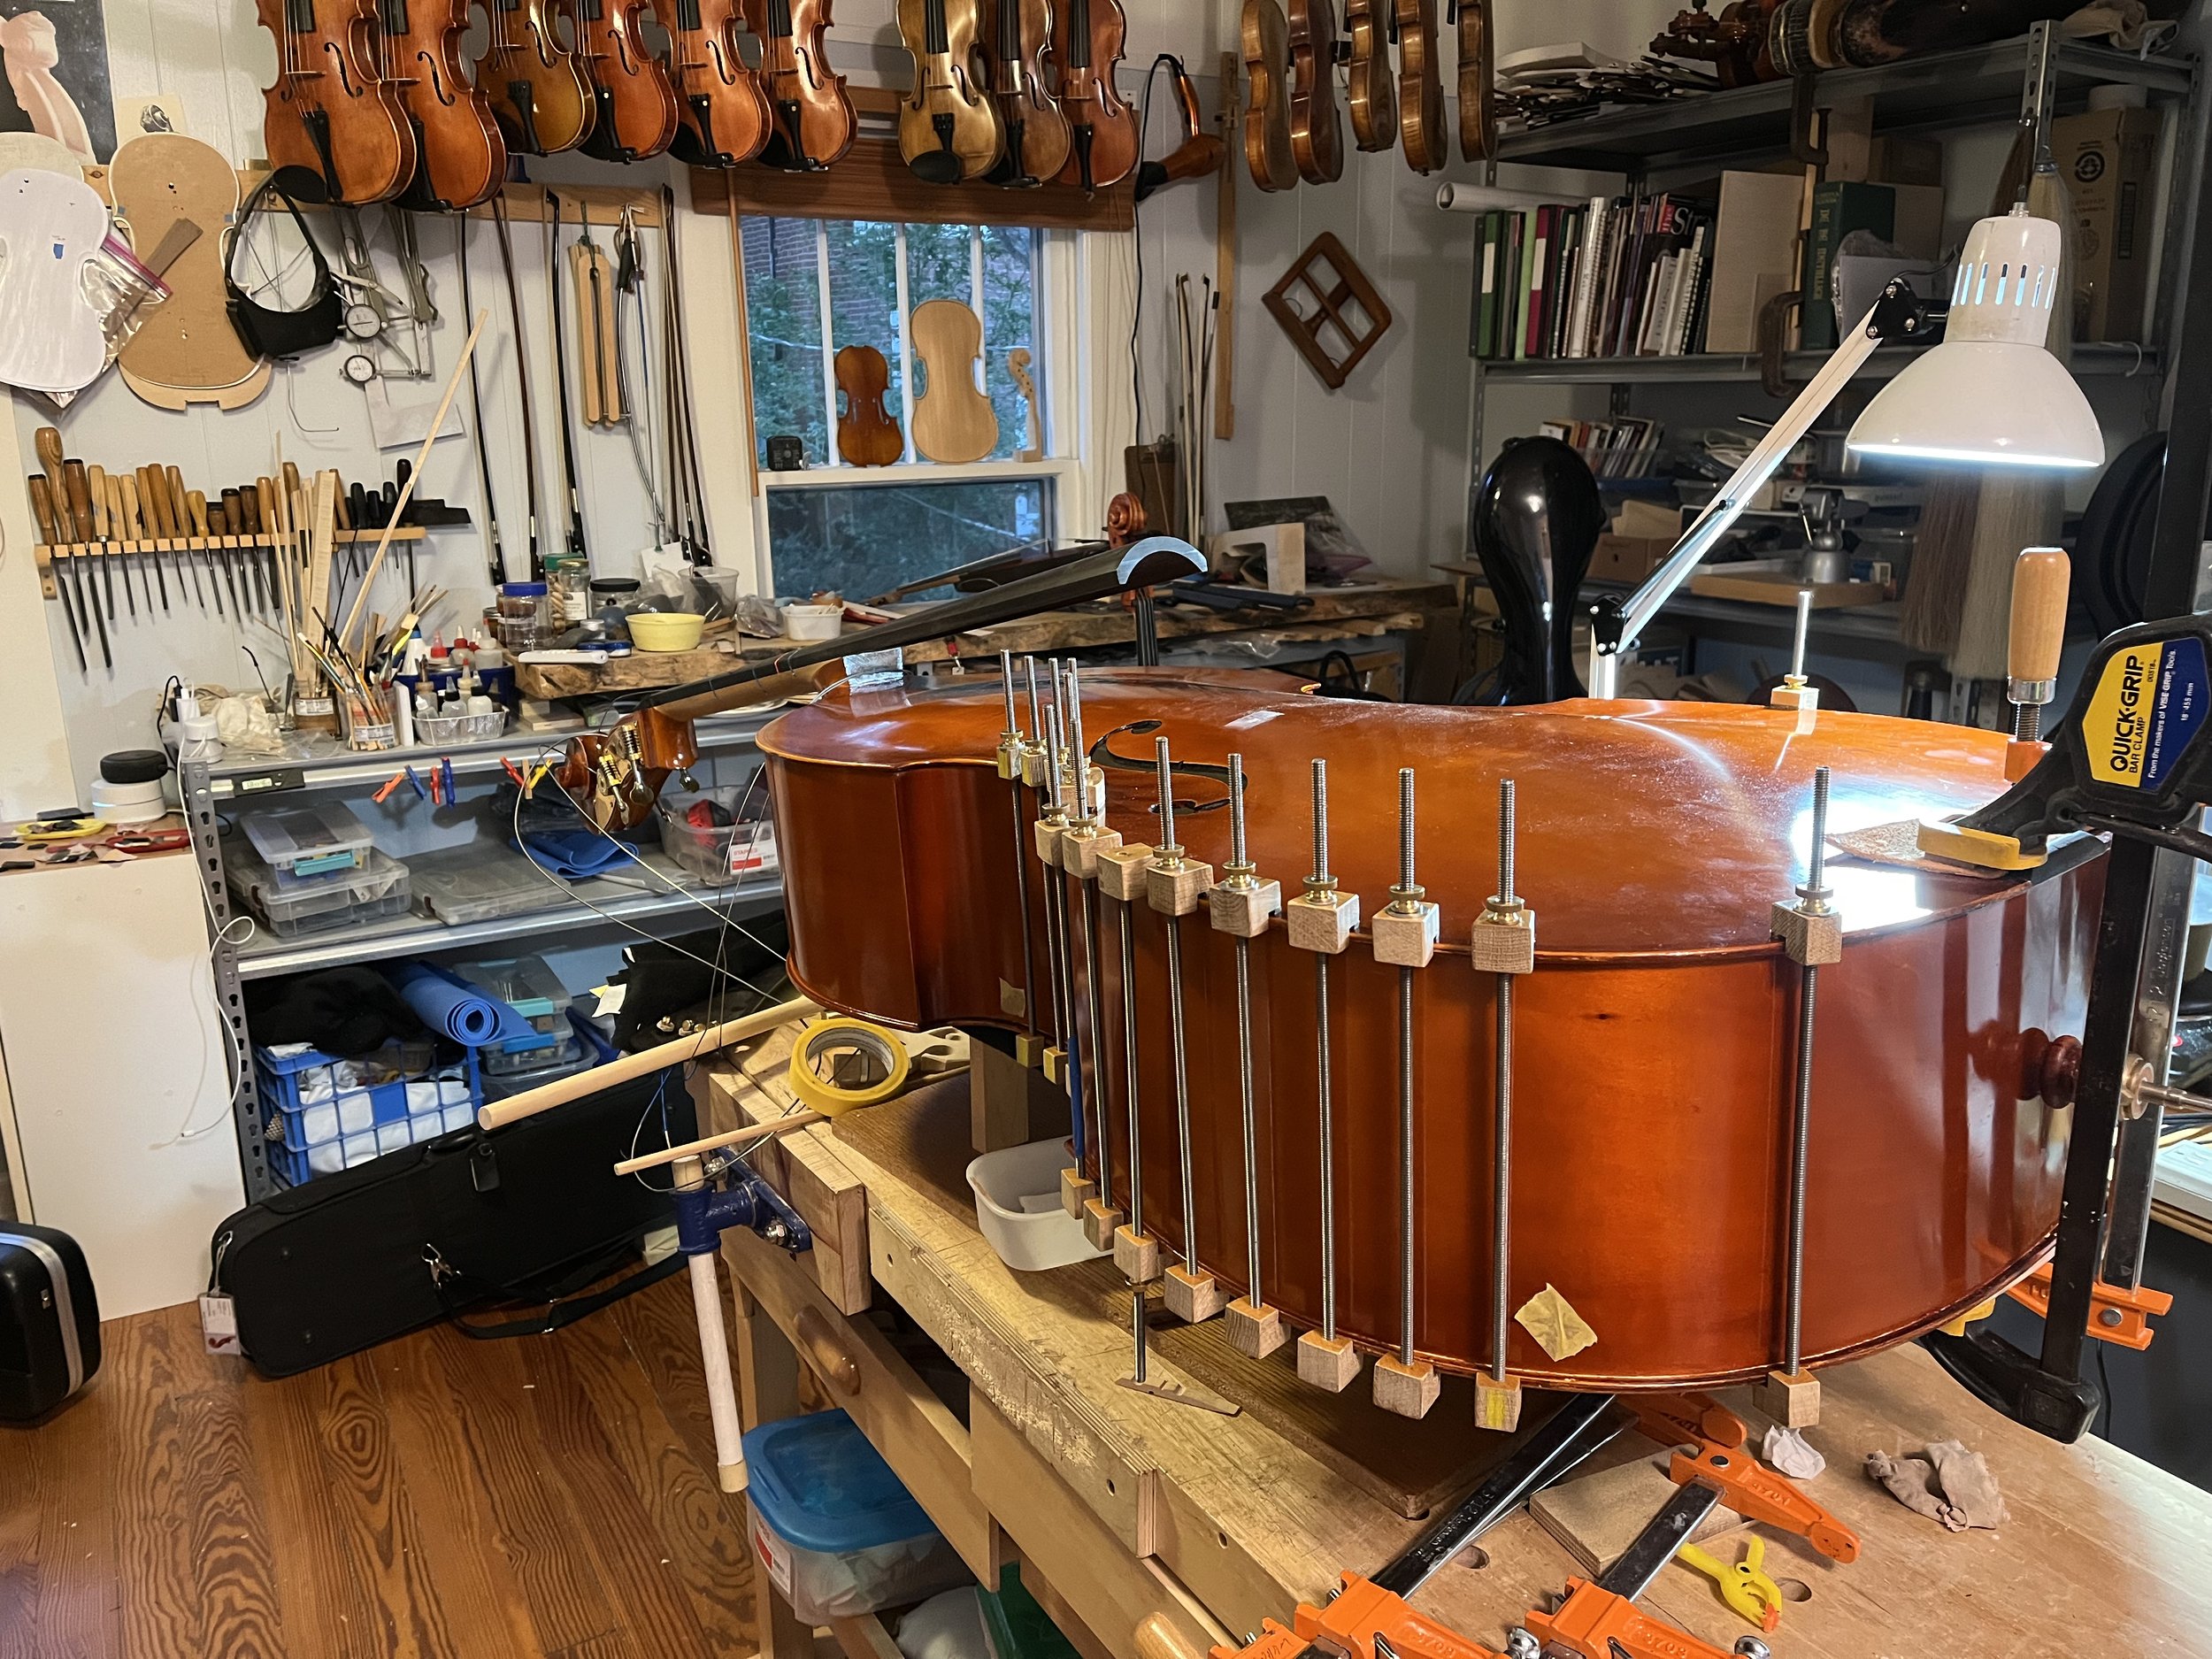
Violins, viola, cellos (call if your bass needs work to be sure Mike can do it).
Mike prefers not to tackle major restoration projects, leaving this work to restoration experts.
Your best sound depends on a great setup. Come have Mike check your bridge, nut and the many other details of your setup. It’s always amazing the impact the basic setup can have on playability and tone.